Introduction:
This tutorial is the 2nd part of service-oriented architecture. In first tutorial (Apache CXF-Spring Integration), we have seen the basic architecture of web-service development, difference between various popular industry-oriented SOA frameworks. In this tutorial I am implementing web service using spring web-service module.
Honestly speaking, spring web-service module is harder than any jax-ws based framework. It requires the knowledge of soap, xml, xml framework, marshaller-unmarshaller etc. But once you get used to programming spring web-services, it will be very easy as coding a jax-ws based framework.
Spring web-service only supports contact first approach, which is the industry oriented best practice and supports automatic wsdl generation. You can easily implement a tight security using spring web-service module.
Prerequisites for this tutorial:
1.Clear concept of object oriented programming and service-oriented architecture.
2.Basic knowledge about spring framework and dependency injection (IoC container).
3.Basic object relational mapping (ORM) knowledge is required.
4.Basic knowledge on soap based web service.
5.Basic knowledge on java xml framework.
Technologies Used:
1.Spring web service module
2.Hibernate
3.MySQL
4.Netbeans
5.Apache Tomcat – 8+
7.JEE 7
8.JDK 7+
Image:
1 – Project
Architecture
Image:
2-Image: 7 – Here
we see how to generate xsd file to data transformation object (dto). There are
two files inside xsd folder. user.xsd is for data contact mapping and another
is a external binding xml file which gives you java.util.date instead of
xmlgorgeoan date format. If you want to edit xsd file and regenerate dto, you
just delete the jaxBnUser folder inside the JAXB Bindings folder in Netbeans.
You will see Generated Sources (jaxb) in Netbeans is also deleted. Now you do
step: 2-7 again.
Image:
8-Image: 11 –
Basic spring web service module and data source configuration. If you have more
than one xsd file, you just add in image: 10 (inside list value) and must add
like 49-53 number line for automatic wsdl generation from your new xsd file.
Image:
12-Image: 13
–Service layer implementation.
Image:
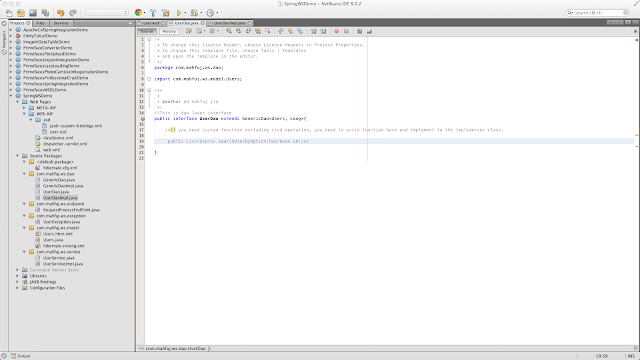
14-Image: 17 –Dao
layer implementation.
Image:
18 –Endpoint
service implementation.
Image:
19-Image: 21
–Test web service using SOAP-UI.
Database
Table Description:
CREATE TABLE `users` (

  `user_id` bigint(20) unsigned NOT NULL AUTO_INCREMENT,

  `user_name` varchar(45) NOT NULL,

  `display_name` varchar(45) NOT NULL,

  `email` varchar(45) NOT NULL,

  `bank_uid` varchar(45) NOT NULL,

  `status` varchar(45) NOT NULL,

  `created_by` varchar(45) DEFAULT NULL,

  `create_date` datetime DEFAULT NULL,

  `creator_ip` varchar(45) DEFAULT NULL,

  `updated_by` varchar(45) DEFAULT NULL,

  `update_date` datetime DEFAULT NULL,

  `updator_ip` varchar(45) DEFAULT NULL,

  PRIMARY KEY (`user_id`)

) ENGINE=InnoDB AUTO_INCREMENT=2 DEFAULT CHARSET=utf8;
 |
| Image:1 |


